
UPDATE: 1.7RC5 was released on 19 Feb 2013.  Although I have not
confirmed it yet, these instructions shouldn't really change.
Before you start it is important to mention that if you have installed any mods or performed any custom coding (including changing graphics, etc.) that upgrading will not be as simple as it sounds in this article. You could very well break your site and/or lose some of the functionality that you now enjoy. It is also imperative that you realize that v1.7 RC4 is NOT a stable release, and should never be used in a production environment.
1. Make a back up of your database.
There are various ways to do this and I am not going to cover all of them, but my preferred way is to use command line. You can do this simply by issuing a command similar to:
mysqldump -u userName -p databaseName > fileName.sql
note: change userName to your DB username, databaseName to the name of your DB, and fileName to what ever you want to call the back up file.
2. Make a back up of your site.
Once again there are various ways to achieve this. I trust that you know how you want to do it, just make sure that you do it.
NOTE: You should not rely on your ISPs automatic backups,
always always always make your own backups before upgrading!!!
While you are here, you may want to also make a separate copy of your /include/ost-config.php file. This file contains the database connection information.
3. If you allow attachments:
Log into OSTicket with an admin account
go to Admin Panel -> settings -> Attachments.
note the “Attachment Folder”, you may want to write it down.
I personally left the site open, but navigated back to the Client panel.
4. Download the latest version of OSTicket (v1.7rc4) from github.
5. Extract it to your OSTicket directory. Yes you can have it over write things.
6. re load your web page.
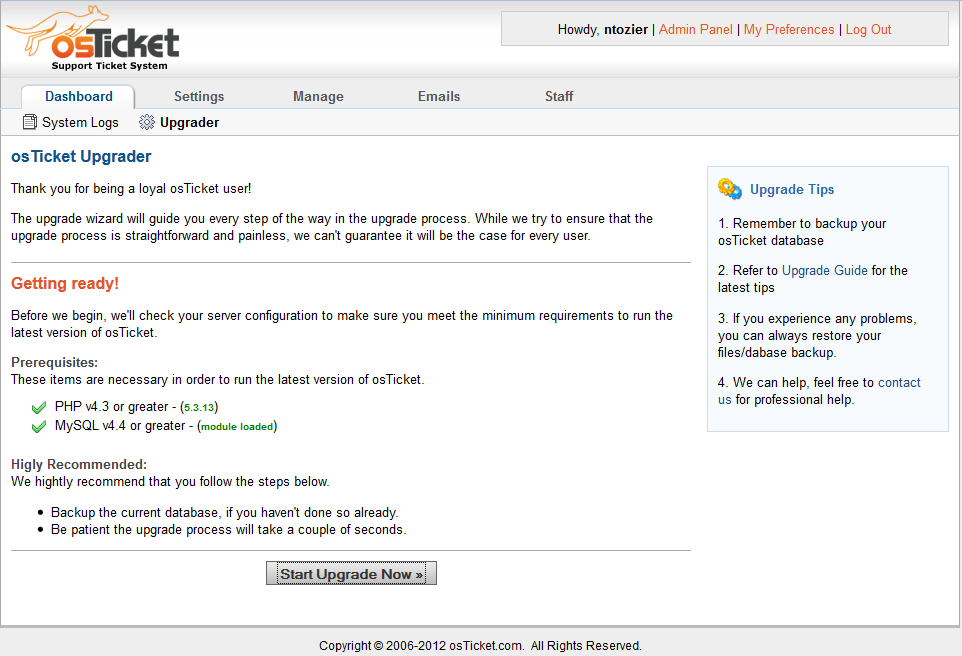
When the page loads you should be looking at the image below. Since this is an upgrade you should be looking at the upgrader. This is important to note since the Upgrade looks different from the Installer.
click image to enlarge
You should at this point be able to click the “Start Upgrade Now” button.
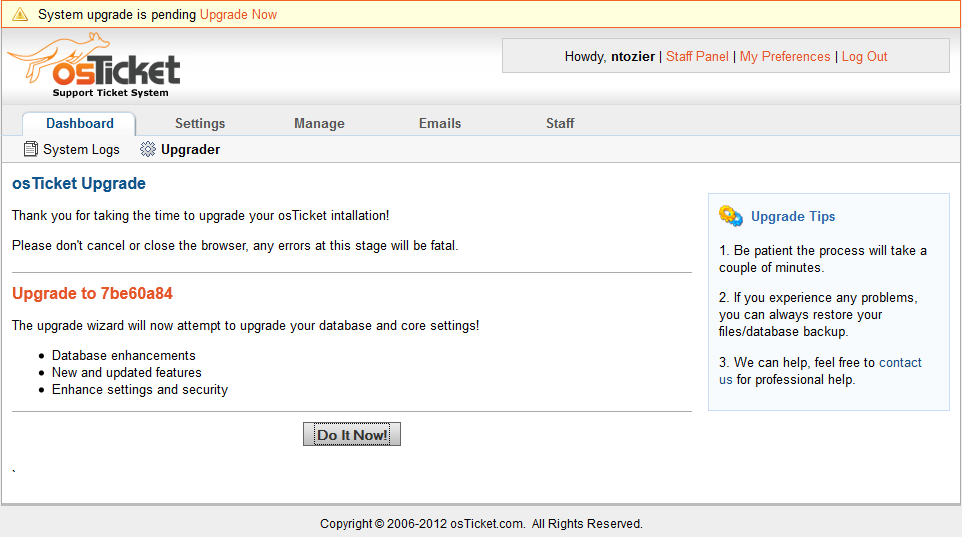
The next screen should look like this:
click image to enlarge
Unless you have a reason not to, go ahead and click the “Do It Now!” button.
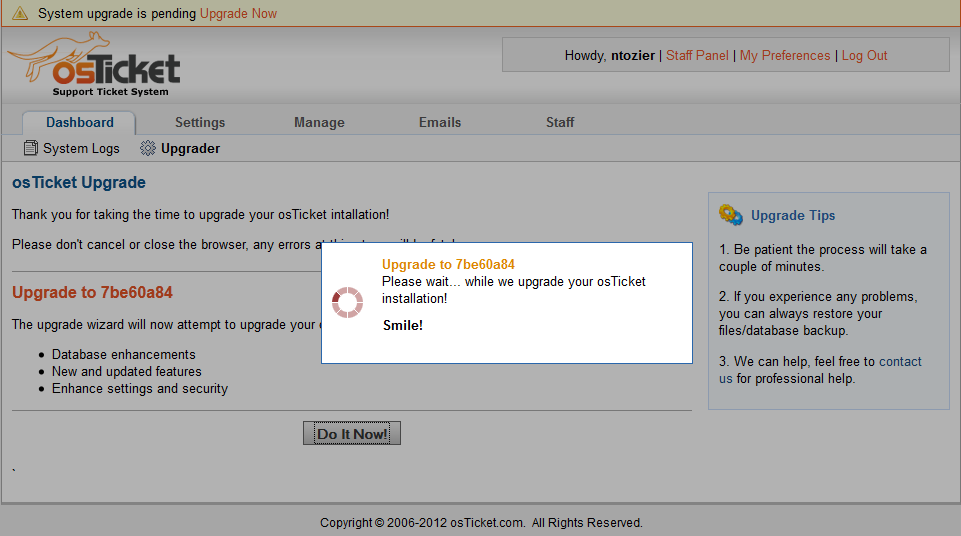
This should result in a small rectangle popping up in the middle of your screen like this:
click image to enlarge
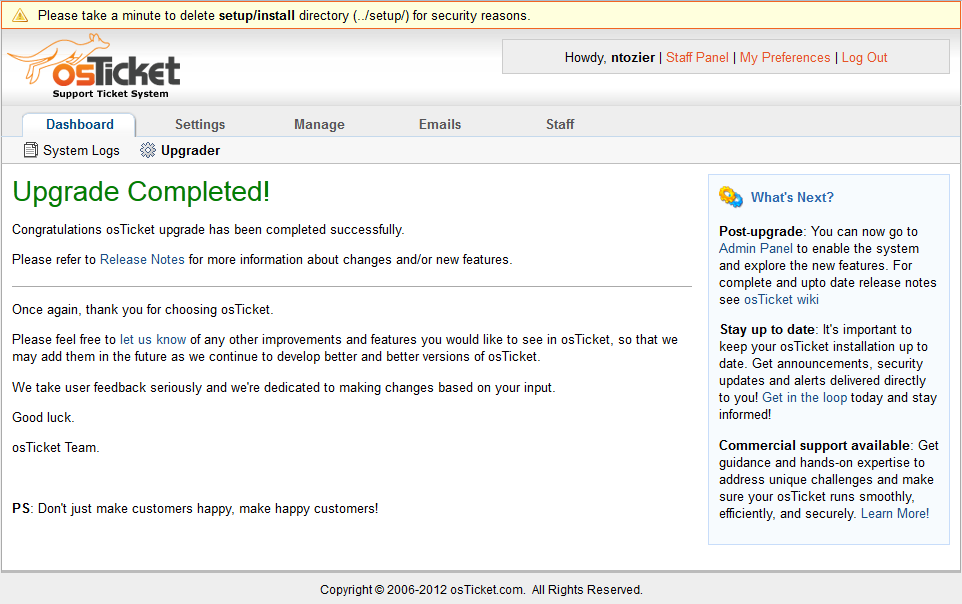
Once it has completed you should be looking at the following page:
click image to enlarge
Congratulations! You’ve upgraded from 1.6 to 1.7rc4, however you are not really finished.
7. Check your tickets attachments.
In this step we are simply making sure that your attachments were moved into the database properly. I even tried downloading the attachment(s) to make sure that they were working okay. Once you are convinced and comfortable that they have moved correctly its time to start deleting some stuff from the file tree.
8. Time for post install clean up.
First go into your OSTicket directory and delete the setup folder. It is not needed for a live or production site and should never be left on a publicly accessible server.
Remember that attachment directory I had you note earlier? Go into it and see if there is anything in there. I didn’t have anything in mine, but then I only took the time to make one ticket with attachment.
Next it’s time to delete a bunch of files that OSTicket no longer uses.
The list is pretty long and taken directly from the UPGRADING.txt. Please be methodical and double check each file before you delete something. If you are concerned that you might make a mistake you might try moving the files into another folder before you delete them.
      images/bg.gif
      images/fibres.png
      images/home.gif
      images/icons
      images/lipsum.png
      images/logo2.jpg
      images/logout.gif
      images/my_tickets.gif
      images/new_ticket.gif
      images/new_ticket_icon.jpg
      images/poweredby.jpg
      images/rainbow.png
      images/refresh_btn.gif
      images/ticket_status.gif
      images/ticket_status_icon.jpg
      images/verticalbar.jpg
      images/view_closed_btn.gif
      images/view_open_btn.gif
      include/class.msgtpl.php
      include/class.sys.php
      include/client/index.php
      include/client/viewticket.inc.php
      include/ost-config.sameple.php
      include/staff/api.inc.php
      include/staff/changepasswd.inc.php
      include/staff/dept.inc.php
      include/staff/depts.inc.php
      include/staff/editticket.inc.php
      include/staff/mypref.inc.php
      include/staff/myprofile.inc.php
      include/staff/newticket.inc.php
      include/staff/premade.inc.php
      include/staff/reply.inc.php
      include/staff/smtp.inc.php
      include/staff/viewticket.inc.php
      scp/css/autosuggest_inquisitor.css
      scp/css/datepicker.css
      scp/css/main.css
      scp/css/style.css
      scp/css/tabs.css
      scp/images/alert.png
      scp/images/bg-login-box.gif
      scp/images/icons/email_settings.gif
      scp/images/logo-support.gif
      scp/images/minus.gif
      scp/images/ostlogo.jpg
      scp/images/pagebg.jpg
      scp/images/plus.gif
      scp/images/refresh.gif
      scp/images/tab.jpg
      scp/images/view_closed.gif
      scp/images/view_open.gif
      scp/js/ajax.js
      scp/js/autolock.js
      scp/js/bsn.AutoSuggest_2.1.3.js
      scp/js/calendar.js
      scp/js/datepicker.js
      scp/js/tabber.js
That’s it for the “hard” stuff. Now that you have upgraded you have a bunch of new settings that you can turn on/off and play with. I will be posting a follow up in the next few weeks to cover some of the new features, but for now go ahead and explore them yourself.